

How To Repair Snaps On Fiberglass Boat
Our Store Has A New Look, With More Upgrades To Come!
Gunkhole Cover Snaps Repair
the Correct Tools for the Job!

Highlights of Gunkhole Encompass Snaps Repair:
- The DIY Boat Snap Toolkit Essentials
- Tips for Installing Boat Snaps in Canvas
- Tips for Installing Screw Studs
- Tips for Boat Snaps Repair
- Other DIY Repair Items
DIY Boat Cover Snaps Repair Toolkit
Boat Embrace Snaps Repair Tools:
Snap setter
Sharp scissors
Precipitous pencil
Chalk
Apartment head screwdriver with narrow ¼" tip
Hammer or mallet
Block of wood – end grain
Cobalt or titanium drill bits 1/8", 9/64", v/32", 3/16"
Plastic Wall Anchors 8-ten 10 3/4" for enlarged holes in the fiberglass
The nearly common blazon of boat snaps you will want to install for boat cover snaps repair are Dot®Fasteners.
 Dot Fasteners
Information technology is a common problem for gunkhole snaps to come apart on the sheet due to crimping failure.
An equally troublesome problem is when boat embrace snaps really pull through the sheet from a tear or an enlarged hole in the canvas.
This always requires a patch to exist sewn on before setting a new snap for your gunkhole cover snaps repair.
Run into how to run up on a patch on our boat comprehend repair folio.
| | |
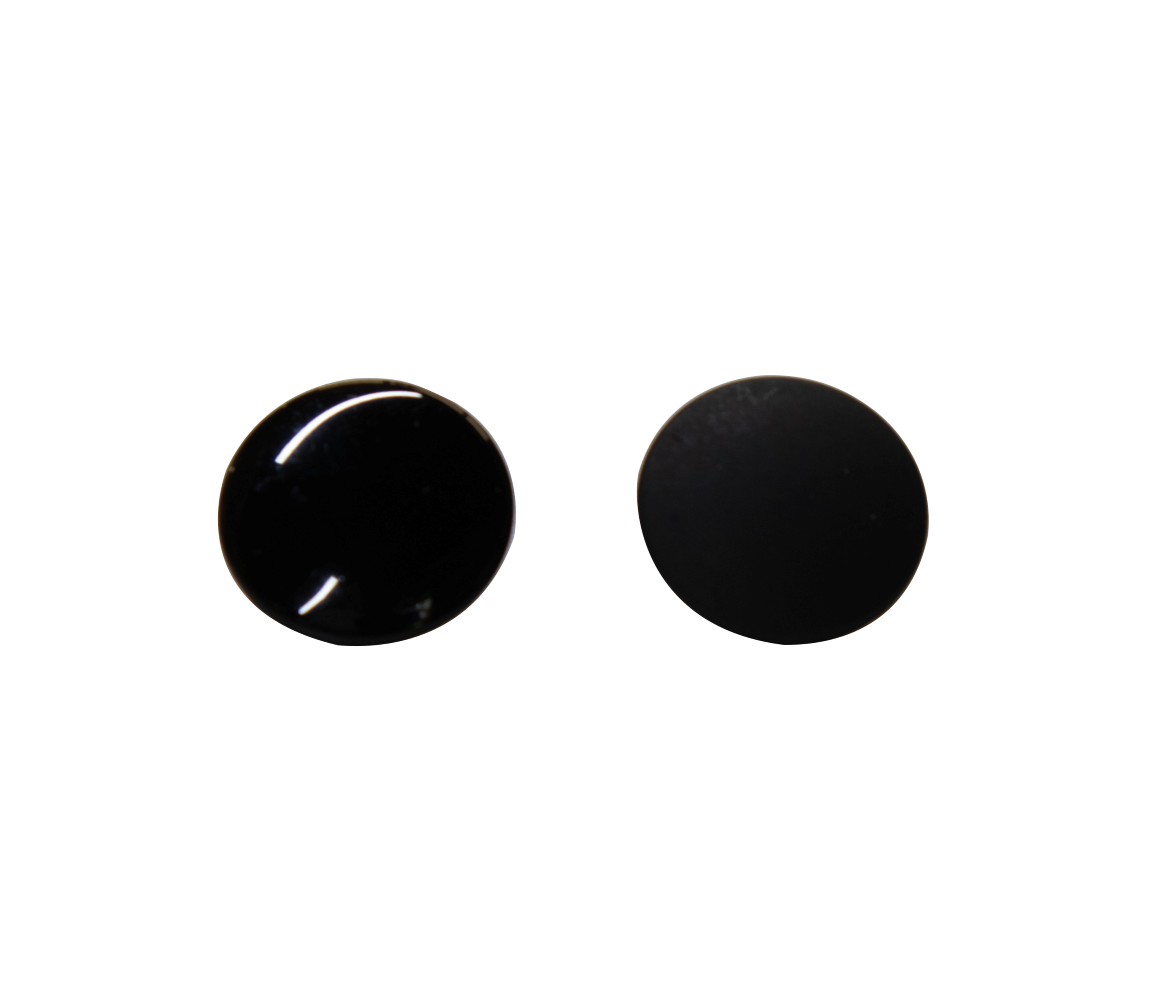
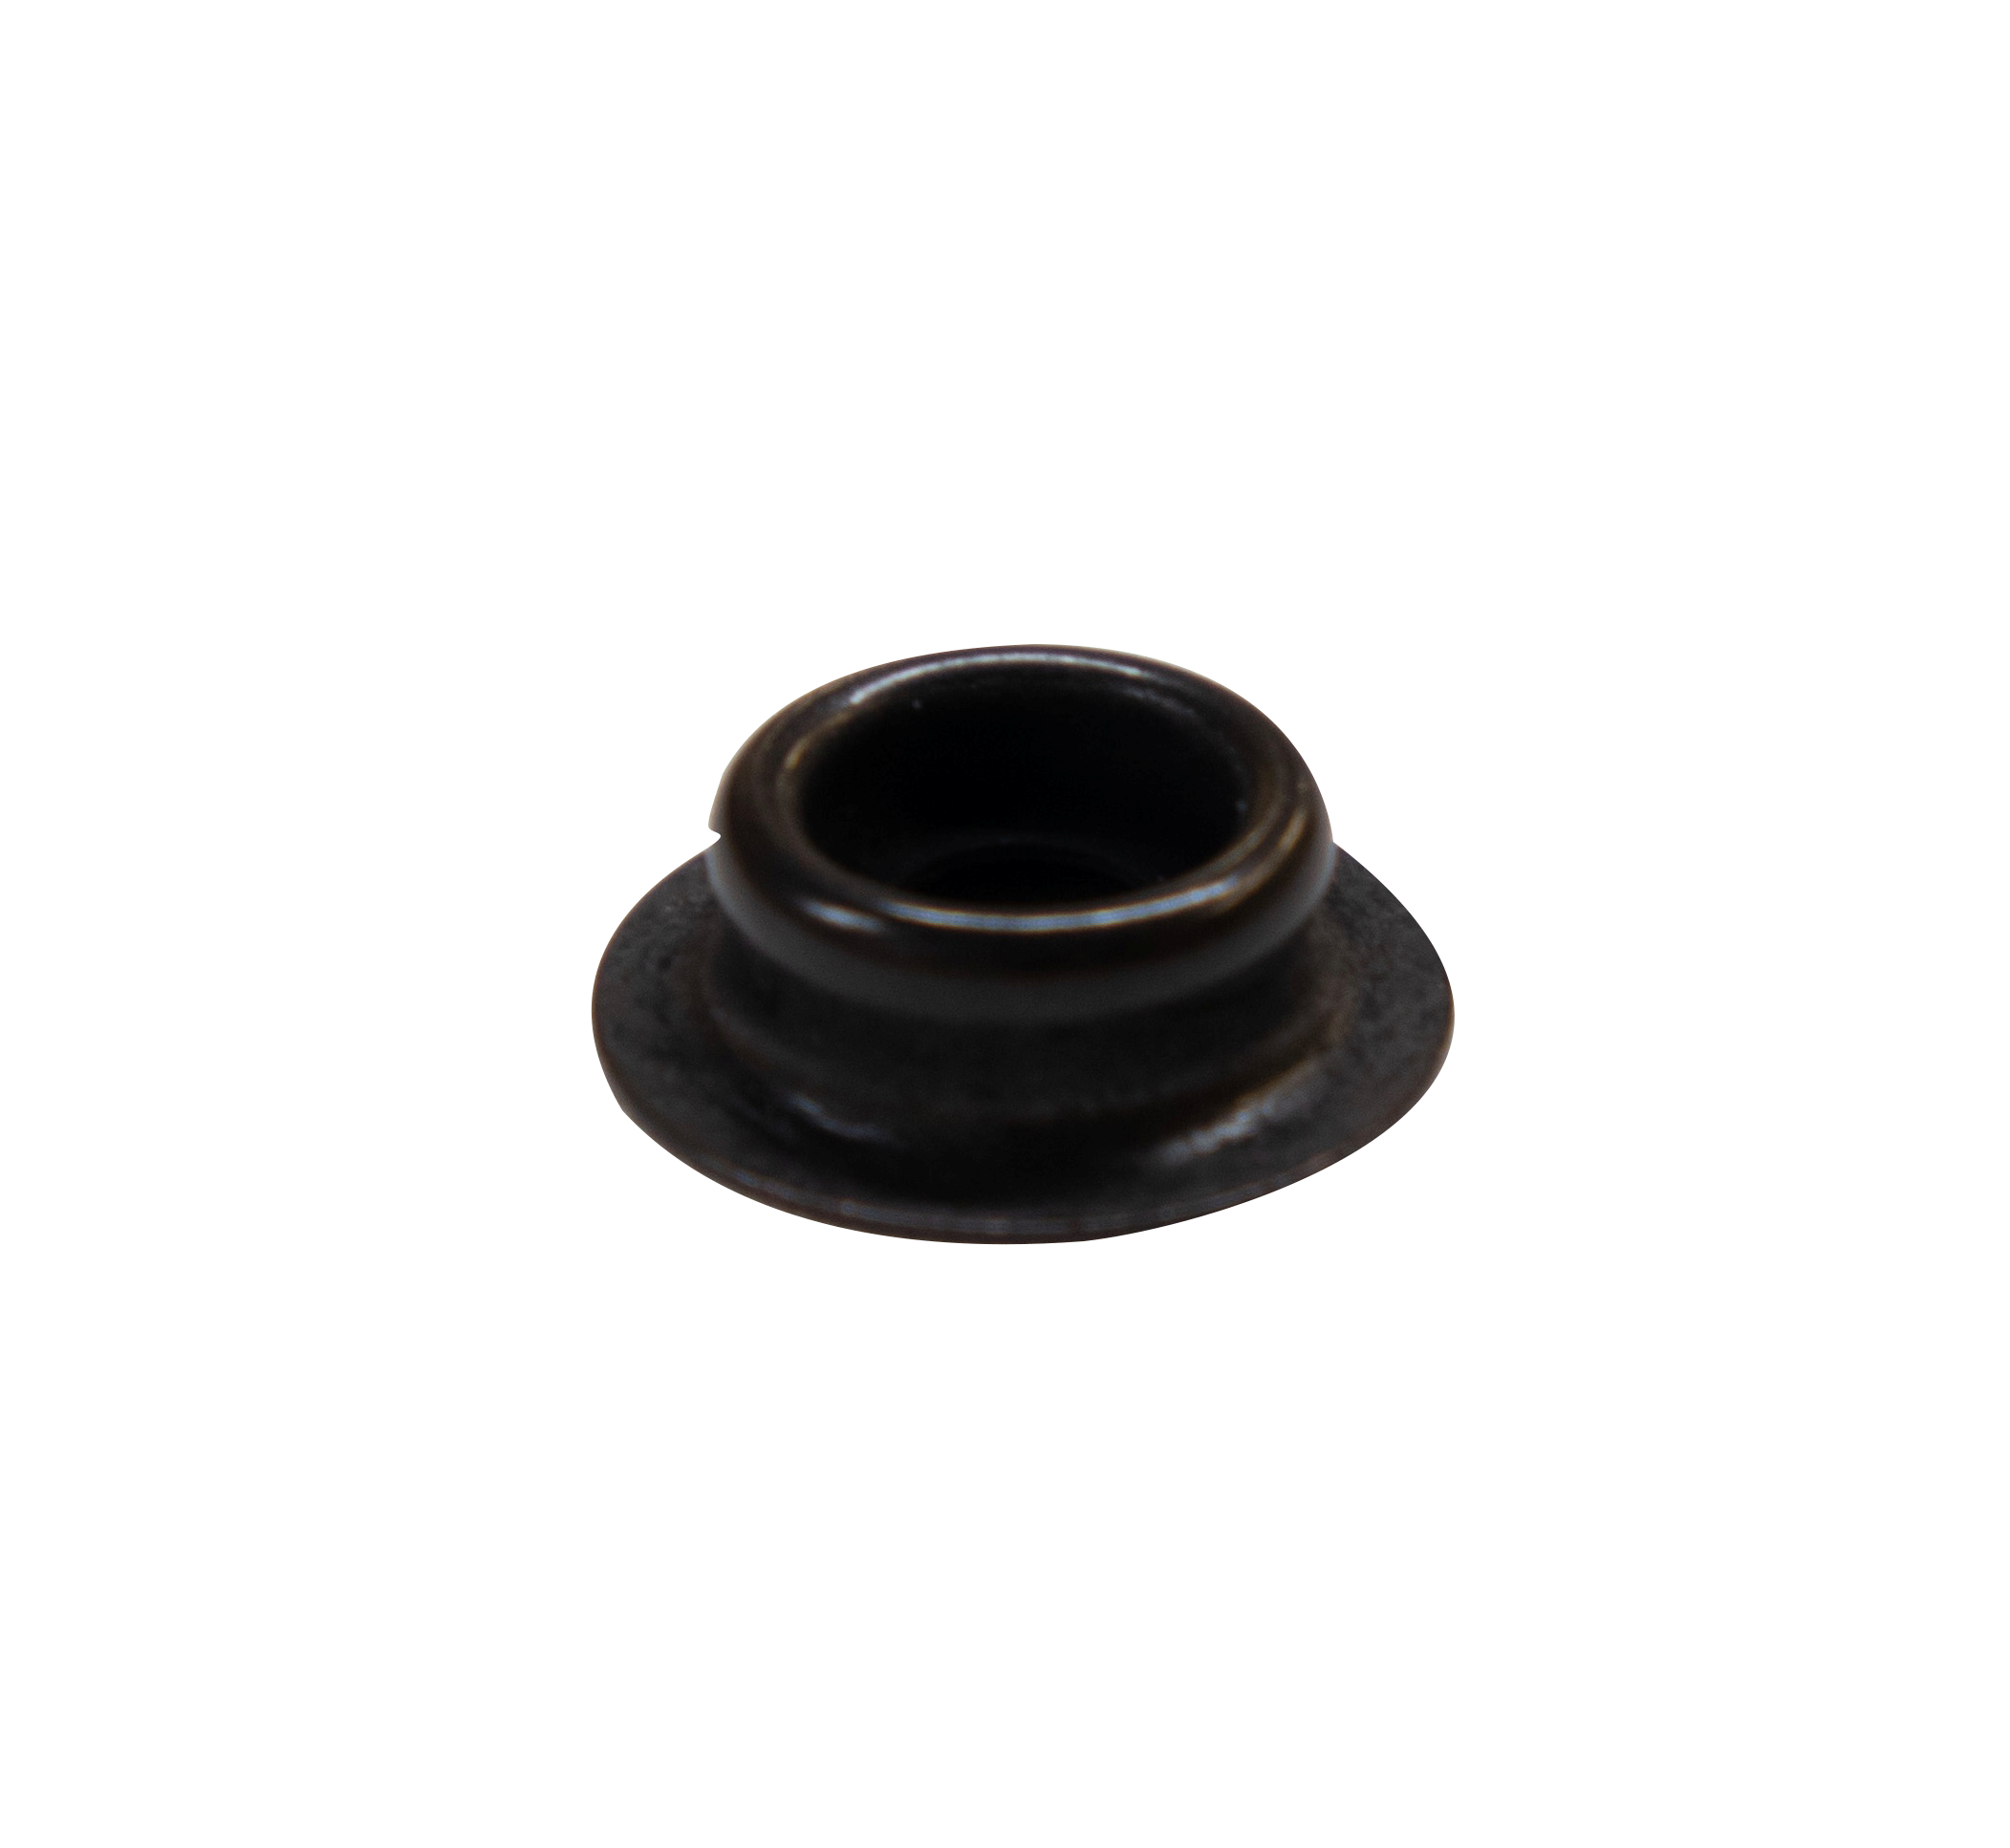
| Stainless Steel Durable Button | Stainless Steel Durable Socket |


| Black Durable Button | Black Durable Socket |
Installing Dot and Fasnap Boat Snaps in Sail
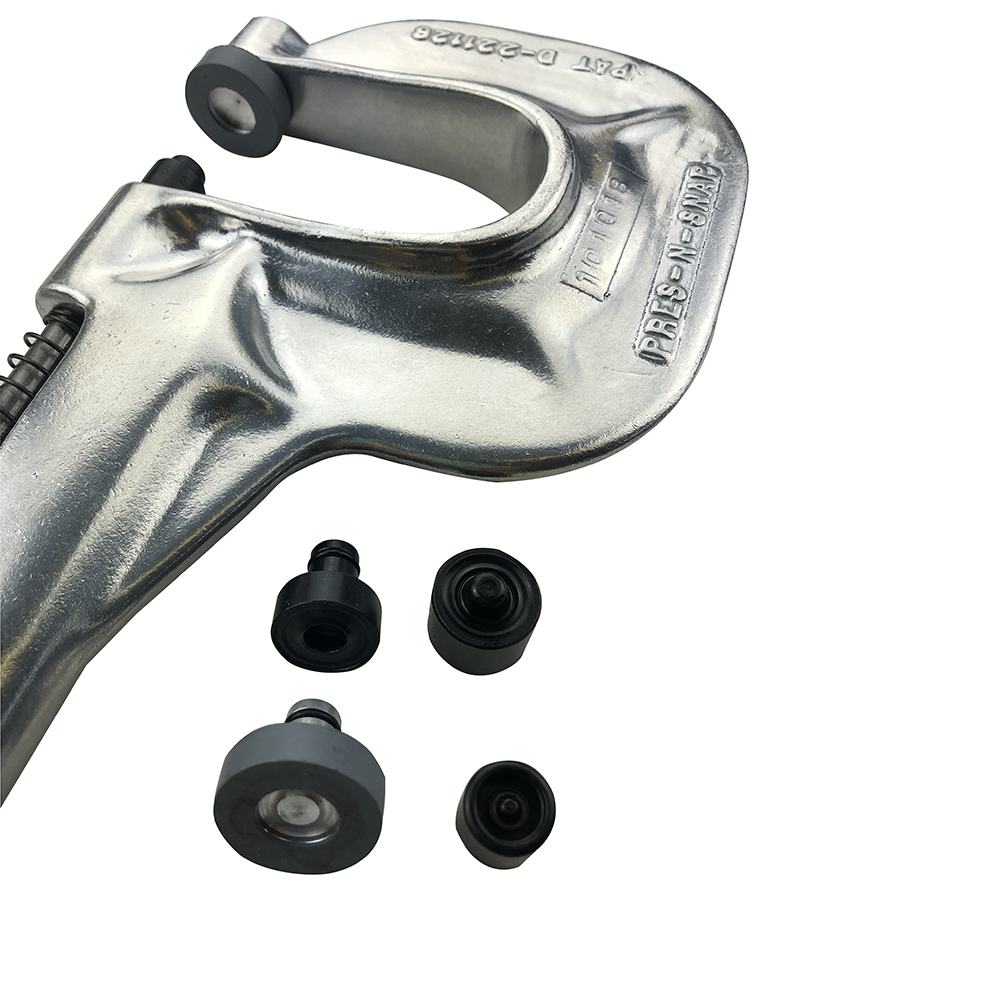
Professionals primarily use the Pres-north-Snap® tool built by Hoover to set snaps. It is plush, but the press manner tools are your best selection if you lot want a professional person crimp for your boat cover snaps repair.
| Pres-n-Snap® Tool | |


Boat cover snaps can be set with an anvil style ready tool similar the heavy duty anvil we sell pictured beneath. The quality of anvil fashion tool will vary the quality of the crimp. This 1 volition do a fine job for your boat cover snaps repair forth with the stainless steel snaps nosotros sell. Information technology will set both cap and socket (Female) or eyelet and stud (Male) just by flipping it over.

The vice grip tools shown below are a niggling quicker and no hammering will be required for your boat embrace snaps repair.
The first photograph below shows the Time Saver vice pliers which do a skilful job with the nickel/contumely snaps, just the stainless steel might be a bit much for the snap-on dies shown here. Information technology's as well like shooting fish in a barrel to lose the dies.
Time Saver tools does sell kits that include nickel/contumely snaps for your boat cover snaps repair.
Bear in mind that even though we apply stainless steel snaps in our shop, nickel/contumely snaps accept been used for many years past fabricators and many even so apply them. They are perfectly acceptable for any climate when doing your boat embrace snaps repair.
The second photo is the manner of vice grips nosotros sell. The divergence in these pliers is that the dies are welded on. The welded on dies are for the cap and socket snap which is the virtually mutual snap installed on boat canvas.
Caps and sockets mate with the screw-in studs normally screwed into fiberglass boats everywhere. However, buying this tool leaves you without the dies used for installing the eyelet and stud side of the snap.

DIY Tip: The vice grips in this kit are bigger than average, and then don't purchase the dies past themselves because they may not fit on the tool you have at home for your boat cover snaps repair.

Installing Curtain/Twist Fasteners & Lift-The-Dot Fasteners
Professionals install these fasteners using an expensive hand dial tool, and this method is not practical for the DIY boater.
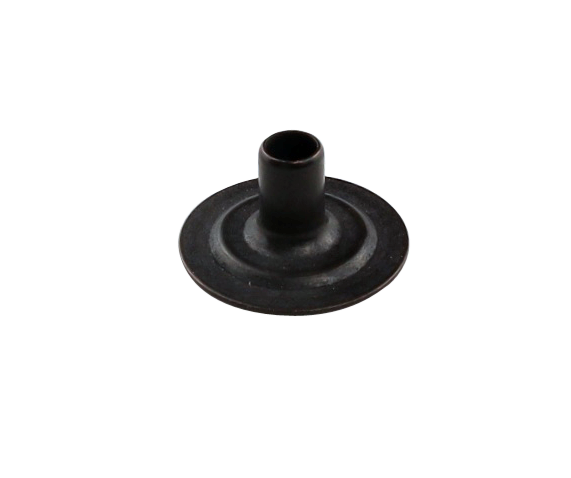
The curtain fastener (twist fastener) and the Lift-The-Dot fasteners all come with two parts – the 4 prong male peak side and the female bankroll plate which sandwiches the fabric between itself and the male side. The prongs crimp downwardly and hold tight to the backing plate. Both of these boat comprehend snap fasteners can be installed with a little patience and without expensive tools.

| | |
| | |


Here is a what yous'll need for this job:
- Cake of wood with the end grain up
- Flat nose screwdriver 1/8" - 1/iv" wide
- Hammer
- Abrupt pair of pair of scissors
- Chalk
- Sharp pencil for marking
1. First make sure the canvas where the boat snap is being installed is reinforced so the snap will not rip through the cloth. If y'all need to repair the canvas start, do then.
ii. Marking where the fastener will go in your cover.
3. Chalk the tips of the prongs on the male side of the fastener.
4. Center the chalked prongs over your original snap mark on the fabric and affect the tips of the prongs to the textile to transfer the chalk marks.
5. Flip your pronged male fastener over, then position and marking the oval center hole that is betwixt the 4 prongs.
half-dozen. Putting a block of wood under your textile, apply your tiny tip apartment head screwdriver and tap with a hammer to dial the holes for your prongs.
seven. Next employ the same technique to commencement a pilot hole in the center, finishing with a pair of sharp scissors and carefully cut the oval hole in the textile. Attempt not to cut the center hole as well large.
8. Insert your male drape or LTD fasteners into the hole and crimp the prongs down over your backing plate using a pocket-size hammer on the back side.
You have now successfully installed a nice, new fastener and completed your boat comprehend snaps repair!
Installing a screw stud into your gunkhole
Bones spiral studs and Elevator the Dot studs accept a #8 screw base

| | |
| | |


These require either a 1/8" or 9/64" drill bit
Always start with an one/8 inch drill bit to exam the thickness of the fiberglass in your boat.
Afterwards you drill whatever pigsty in fiberglass, you lot will need to countersink the hole. This simply means that you need to make clean away the sharp edges of fiberglass from the opening of the hole.
Yous tin use a #two Phillips head bit in your drill to countersink the top of the hole if you lot don't have a countersink.
Just spin the Phillips head in the drilled hole while asserting pressure level and you volition articulate abroad a squeamish opening as shown in the photo below.
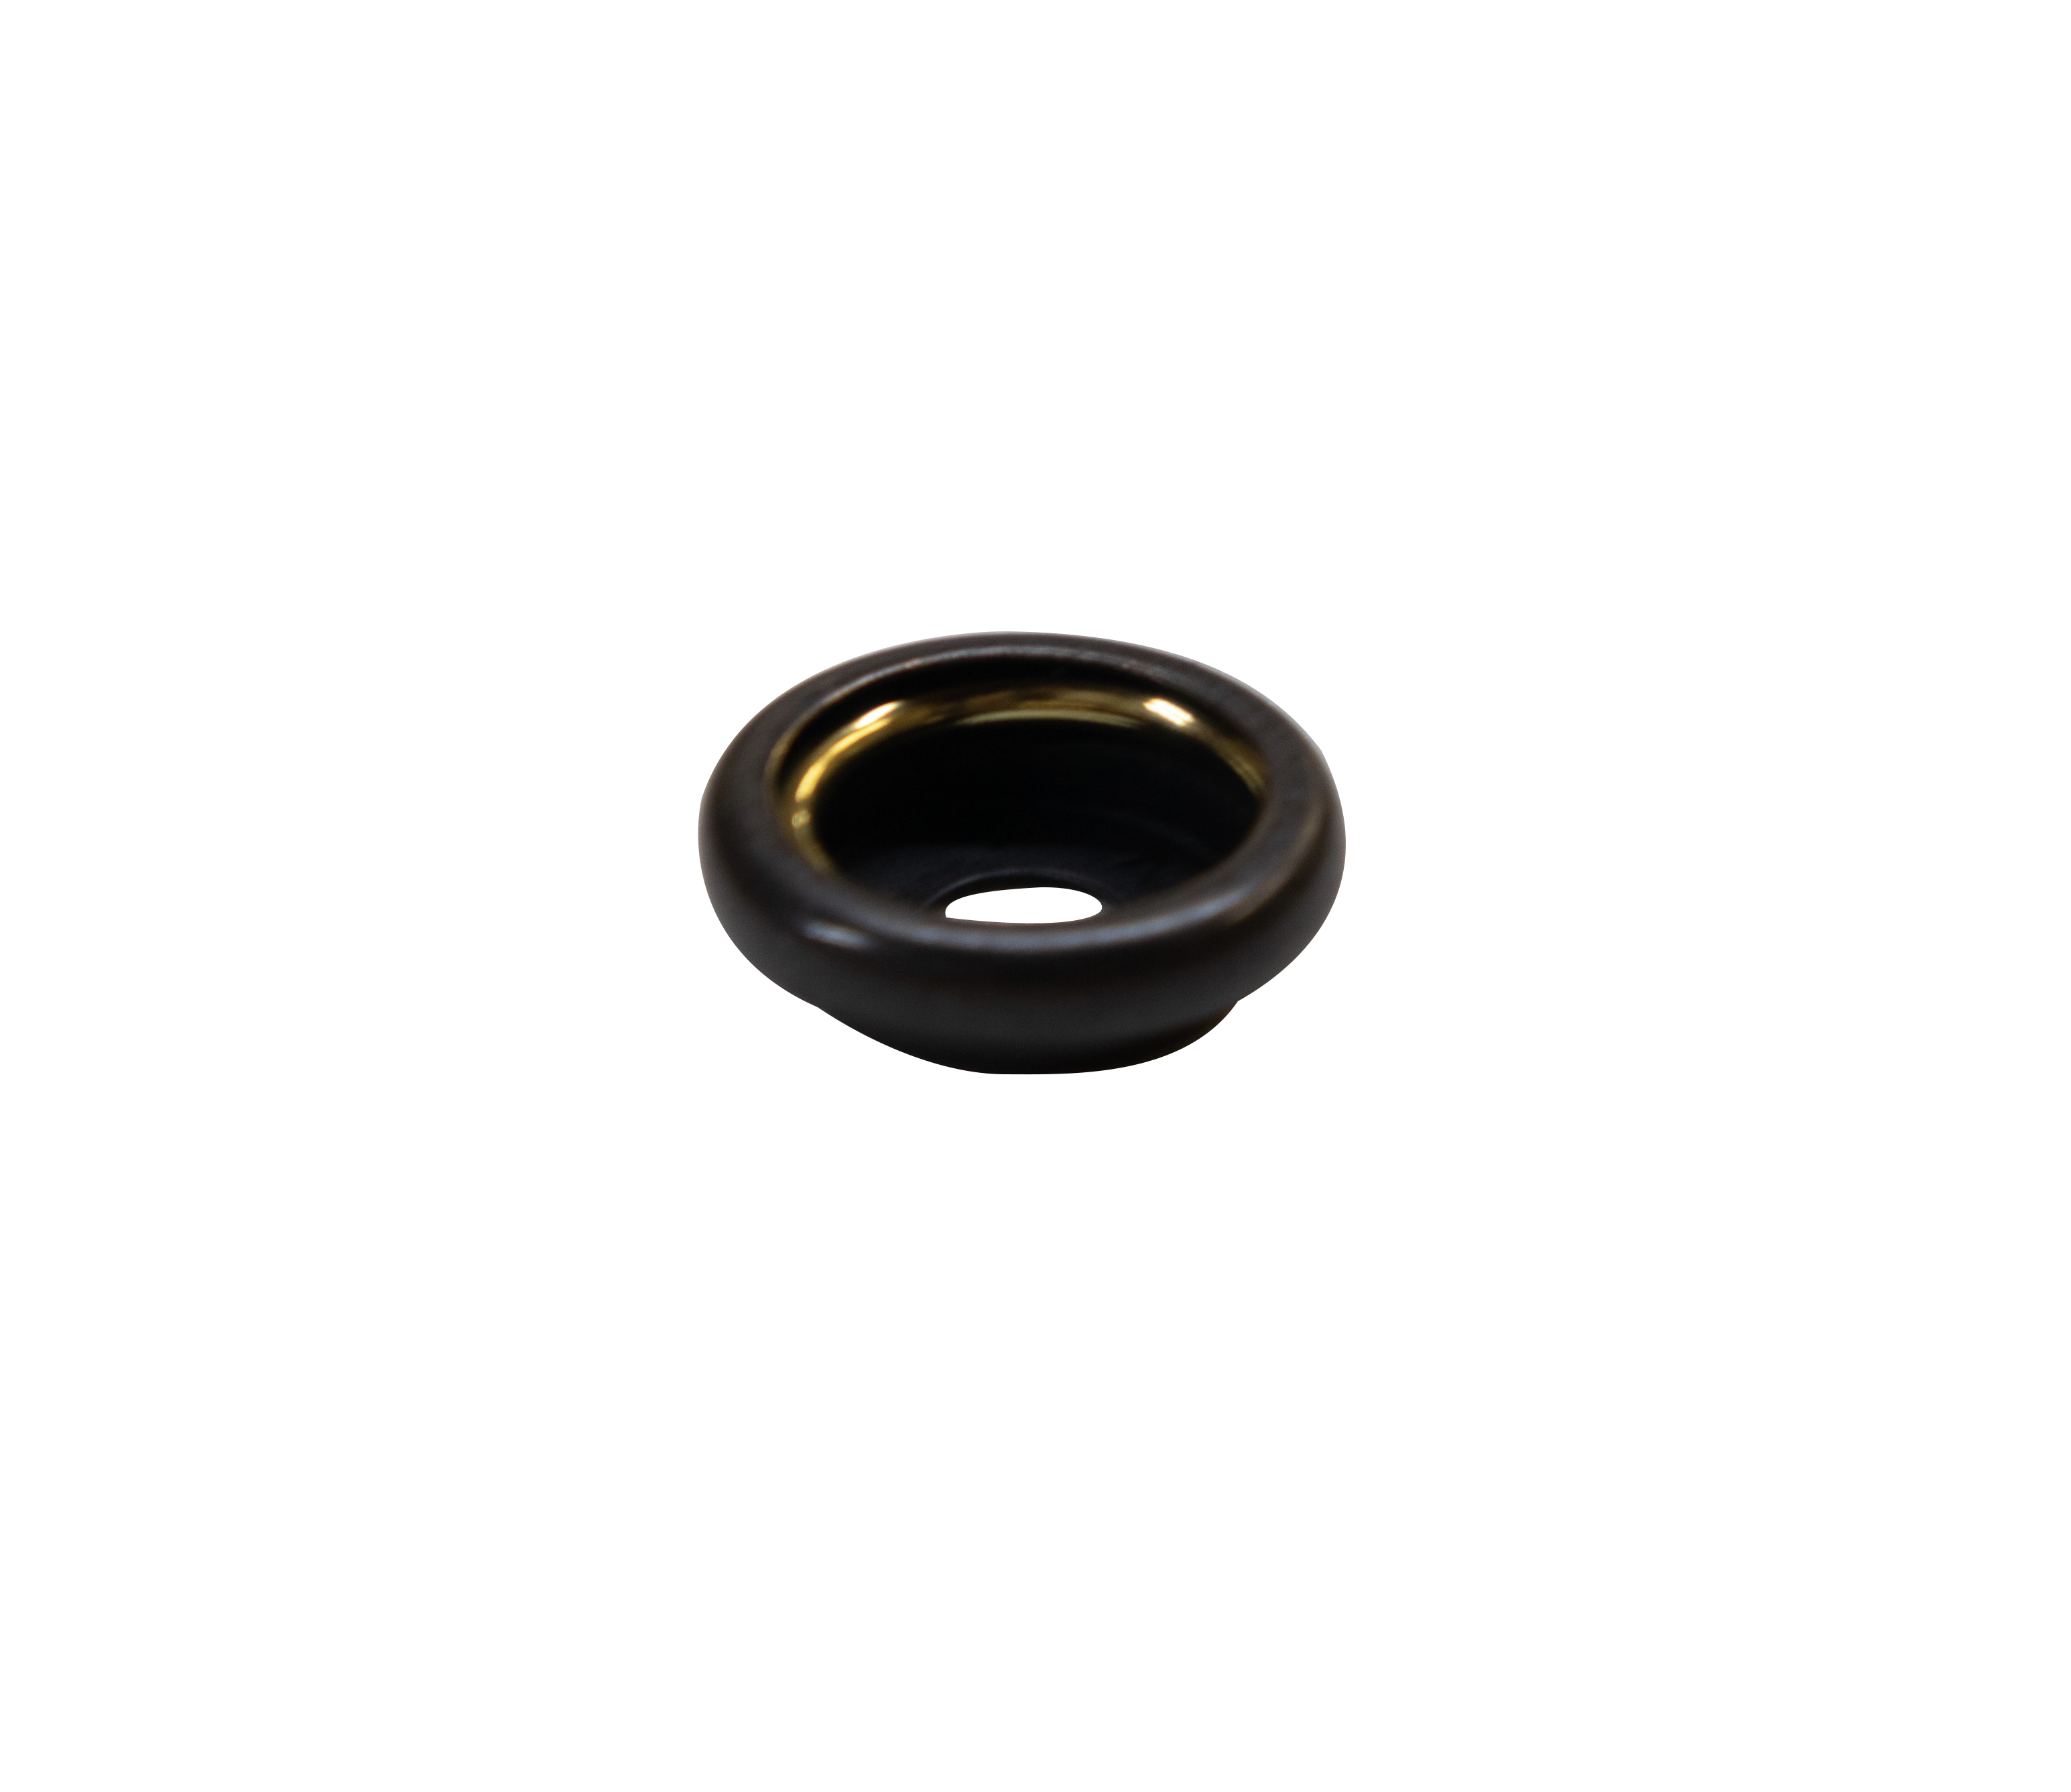
 Countersink Pigsty
Now test screw by mitt your #8 screw stud or your Lift-the-Dot®stud into your fiberglass pigsty, applying firm downward pressure every bit you lot twist. The down pressure helps limit the possibly of great your fiberglass.
As you lot go along, if yous feel too much resistance and the fiberglass feels too thick,cease! You are in danger of twisting off the screw, stripping your spiral head, or even worse cracking the fiberglass.
Now switch to your 9/64 inch drill bit and re-drill the hole again. You lot're screw should at present go in snugly, merely with less resistance.
If you feel the need, you can drill all of your holes with the i/8 inch drill bit and test, you tin can always go back and drill once again with your 9/64 inch drill bit.
This will help you lot get a feel for drilling into the varying thicknesses of your boats fiberglass.
Installing spiral studs into aluminum
You can install a screw stud into thin aluminum using the correct drill bit and Phillips head bit. Aluminum is normally found on your windshields and pontoon railing.
I utilise a 9/64 drill bit for aluminum. Again, you tin can exam your screw on this size hole and if the aluminum is too thick and you encounter with too much resistance, move up to a 5/32" size.
If yous are using pop rivets with a dot stud, a 1/8" bit should be correct.
Exist very careful when drilling into windshield metallic. In thirty years of doing this, I did break a side windshield and getting the glass replaced was a huge pain. So if yous are unsure of where your glass lays within the metal windshield, go assistance or hire a professional.
How to repair boat cover snaps
If your gunkhole snaps accept pulled out of the fiberglass and left an enlarged hole, you have a couple of dissimilar choices.
Outset choice would exist to try a spiral stud with a #10 screw base and see if information technology is large enough to hold in the fiberglass.Keep the smallest size available on your gunkhole which should be a 8-10 x 3/4".

| | |
| | |


If the hole is still as well large y'all can apply a plastic drywall anchor like this one. They practice come in varying sizes.
Use a three/16" drill bit for the plastic anchor and add a lilliputian 4200 marine adhesive earlier you insert the anchor. We like the 4200 over the 5200 because information technology stays but a little flexible. You should meet some resistance when tapping information technology into the pigsty, but not enough to mash the plastic ballast.
Once it is inserted in the hole, you tin and then secure your screw into the anchor. You should now take a solid hold.
Repairing your own screw studs and boat cover snaps is piece of cake and something whatever DIY guy or gal can exercise for themselves. So go for information technology and proficient luck!
DIY Repairs
Only in case y'all need a few other items for your DIY repairs, take a await at our boat comprehend repair kit and thread products below. Nosotros've also added Durable Dot® Eyelets and Studs for your convenience. We accept many boat canvas materials to cull from every bit well. Run across the link beneath to take a look!
| | | |
| | Also see our gunkhole canvass textile selection here . | |


| | | |
| | | |


| | |
| Stainless Steel Durable Eyelet | Stainless Steel Durable Stud |
| Black Durable Eyelet | Black Durable Stud |


our Other EZ-Xtend Boat Zipper products:
EZ-Xtend Gunkhole Zippers
EZ-Xtend Boat Runway
EZ-Xtend Drip Shields
C.S.Osborne is a registered trademark of C.S.Osborne & Co.
Pres-northward-snap is a registered trademark of Hoover products
Lift-The-Dot is a registered trademark of Dot Fasterners
Please come visit me at Cover Girl Marine Canvas & Upholstery to meet some of our awesome work!

Source: https://www.canvas-boat-cover-and-repair-advisor.com/boat-cover-snaps-repair.html
Posted by: greervenswithe.blogspot.com
0 Response to "How To Repair Snaps On Fiberglass Boat"
Post a Comment